

How to Spread and Fasten a Metal Roof Deck
If you are a steel fabricator and new to metal deck installation then installing a metal roof deck may seem like a complicated process. In fact, you won't find much help on the internet in terms of how to actually install a metal roof deck.
This may leave you to think it’s a difficult job that’s best suited for a metal deck subcontractor. In some cases this is correct. You will find that some jobs are extremely complicated and not really well suited for a contractor with little to no experience in installing metal deck.
However, if you are reading this then you are most likely up for the challenge. If this is the case and you need some guidance, Western Metal Deck is here to help. As a journeyman ironworker with over 20 years experience installing metal deck, I will provide you with some helpful information that will assist you in your metal roof deck project.
We will go over the steps to follow to install your metal roof deck:
- Safety Precautions
- How To Spread & Fasten Metal Roof Deck To Steel Frame
- How To Fasten The Metal Roof Deck Side Laps
Safety Precautions
Prior to any workers attempting to hoist bundles of metal decking, spreading metal decking, or attaching metal decking – it is critical that you and your team receive the necessary safety training and safety equipment. Let’s be very clear: this is VERY DANGEROUS work. You want to be sure that you and your team become experts in safety prior to install.
Per the Steel Deck Institute: Since hazards may be associated with the handling, installation, or use of steel deck and its accessories, prudent construction practices should always be followed. The Steel Deck Institute recommends that parties involved in the handling, installation or use of steel deck and its accessories review all applicable manufactures’ safety data sheets, applicable rules and regulations of the Occupational Safety and Health Administration and other government agencies having jurisdiction over such handling, installation or use, and other relevant construction practice publications.
Spreading & Fastening A Metal Roof Deck
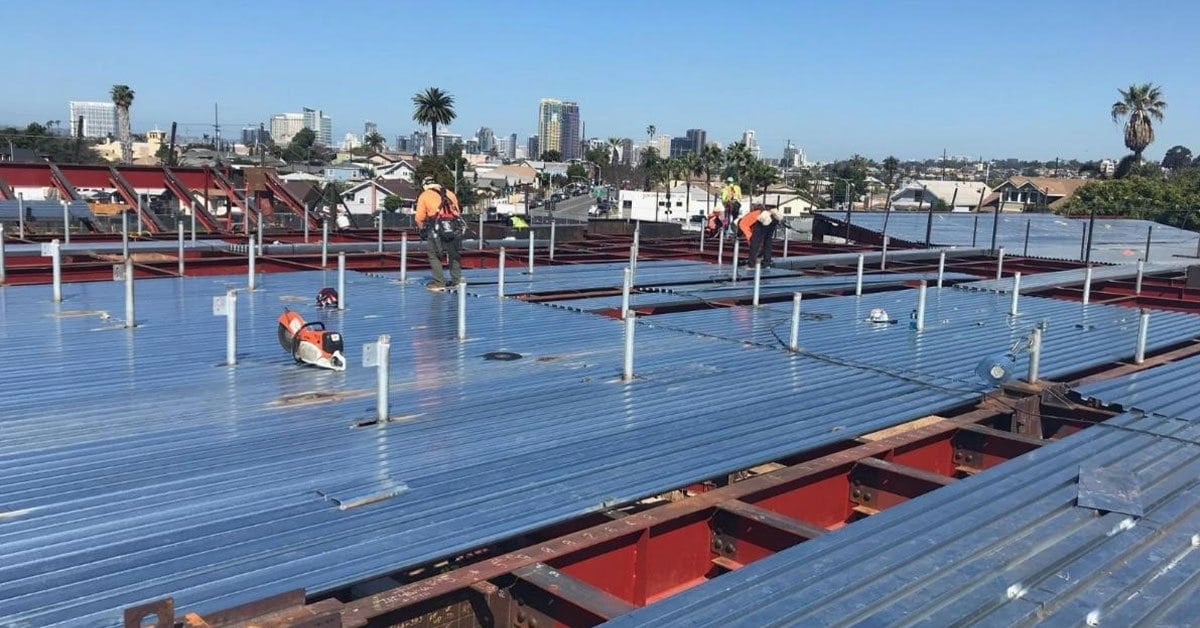
The metal roof deck installation usually begins once the steel framing for the roof is completed. The level directly underneath the roof must be completed prior to beginning the installation of the roof.
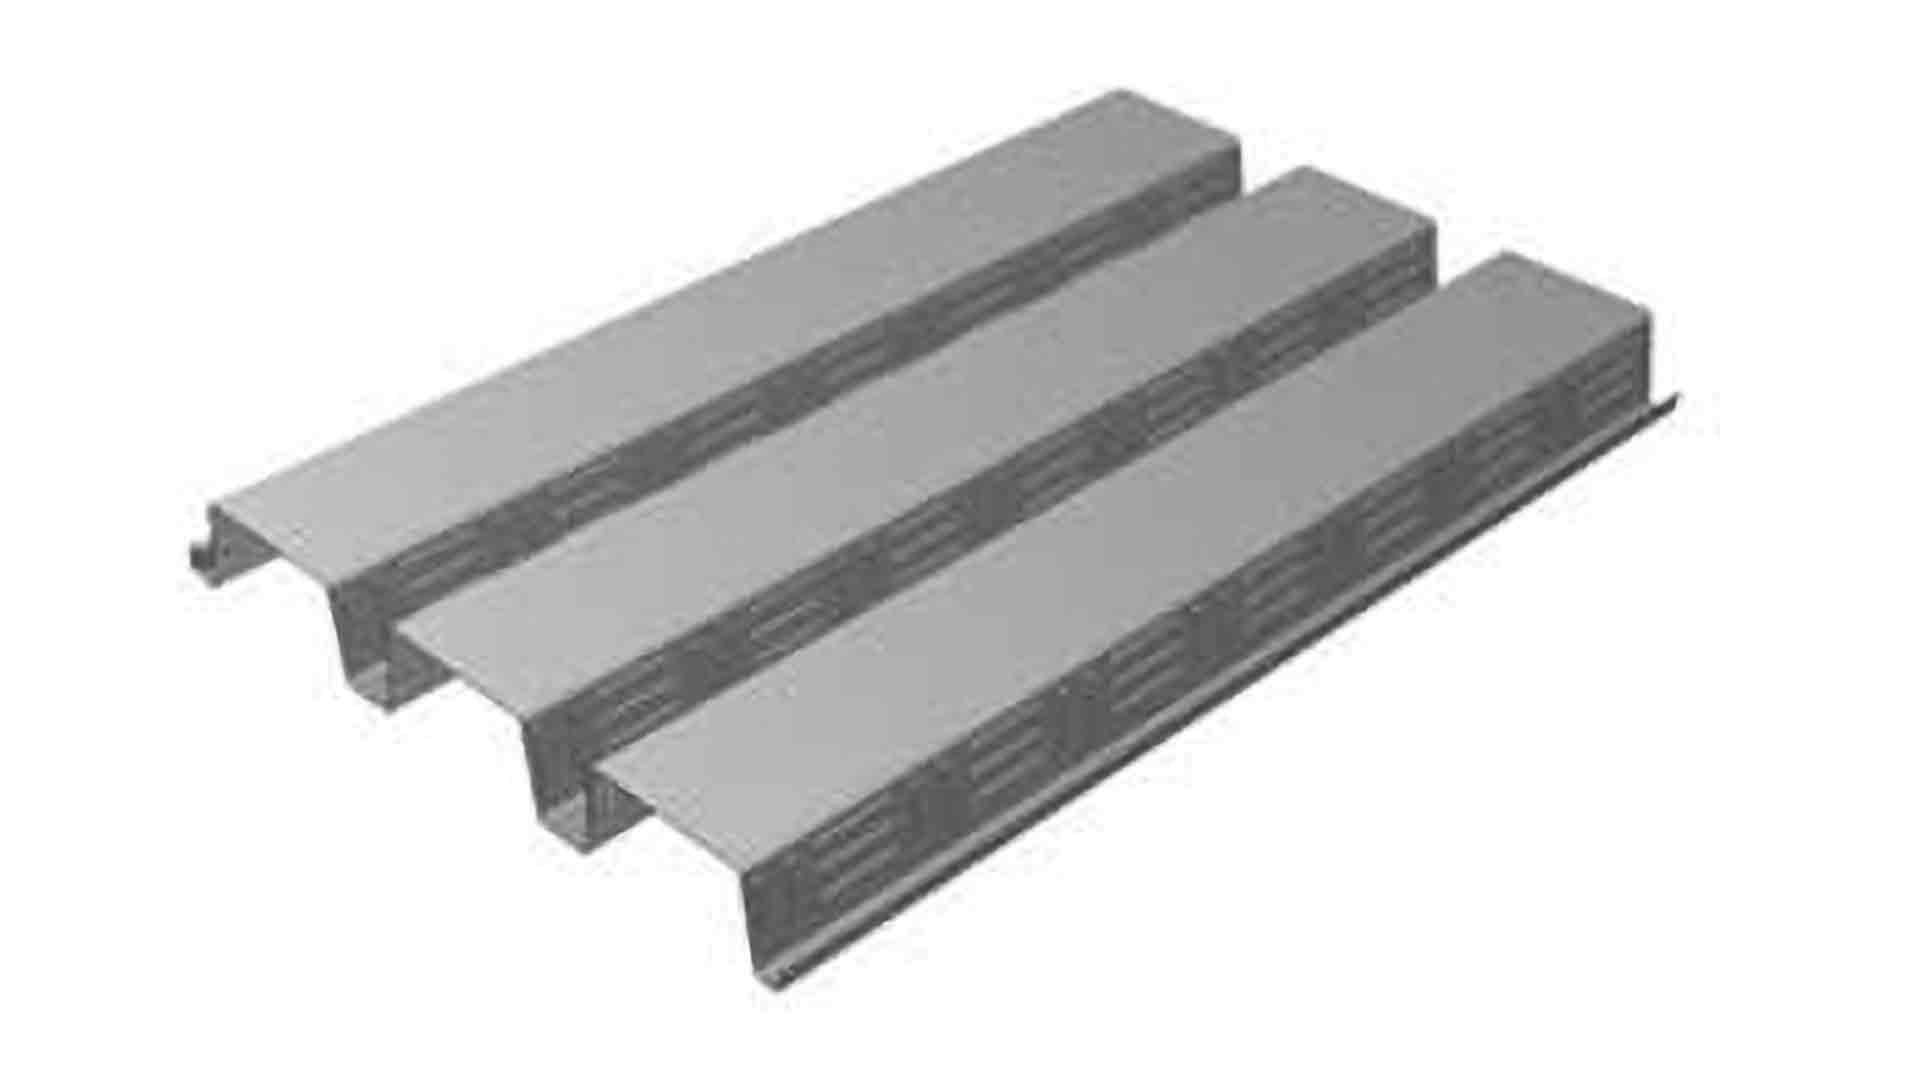
The metal roof deck will cover the top level of the steel framing. This procedure is done in a few steps.
Shakeout
Shakeout consists of manually dragging and spreading one sheet of metal roof deck at a time to its permanent position.
Once the metal decking bundles are hoisted to the roof level, you are ready to begin the shakeout process.
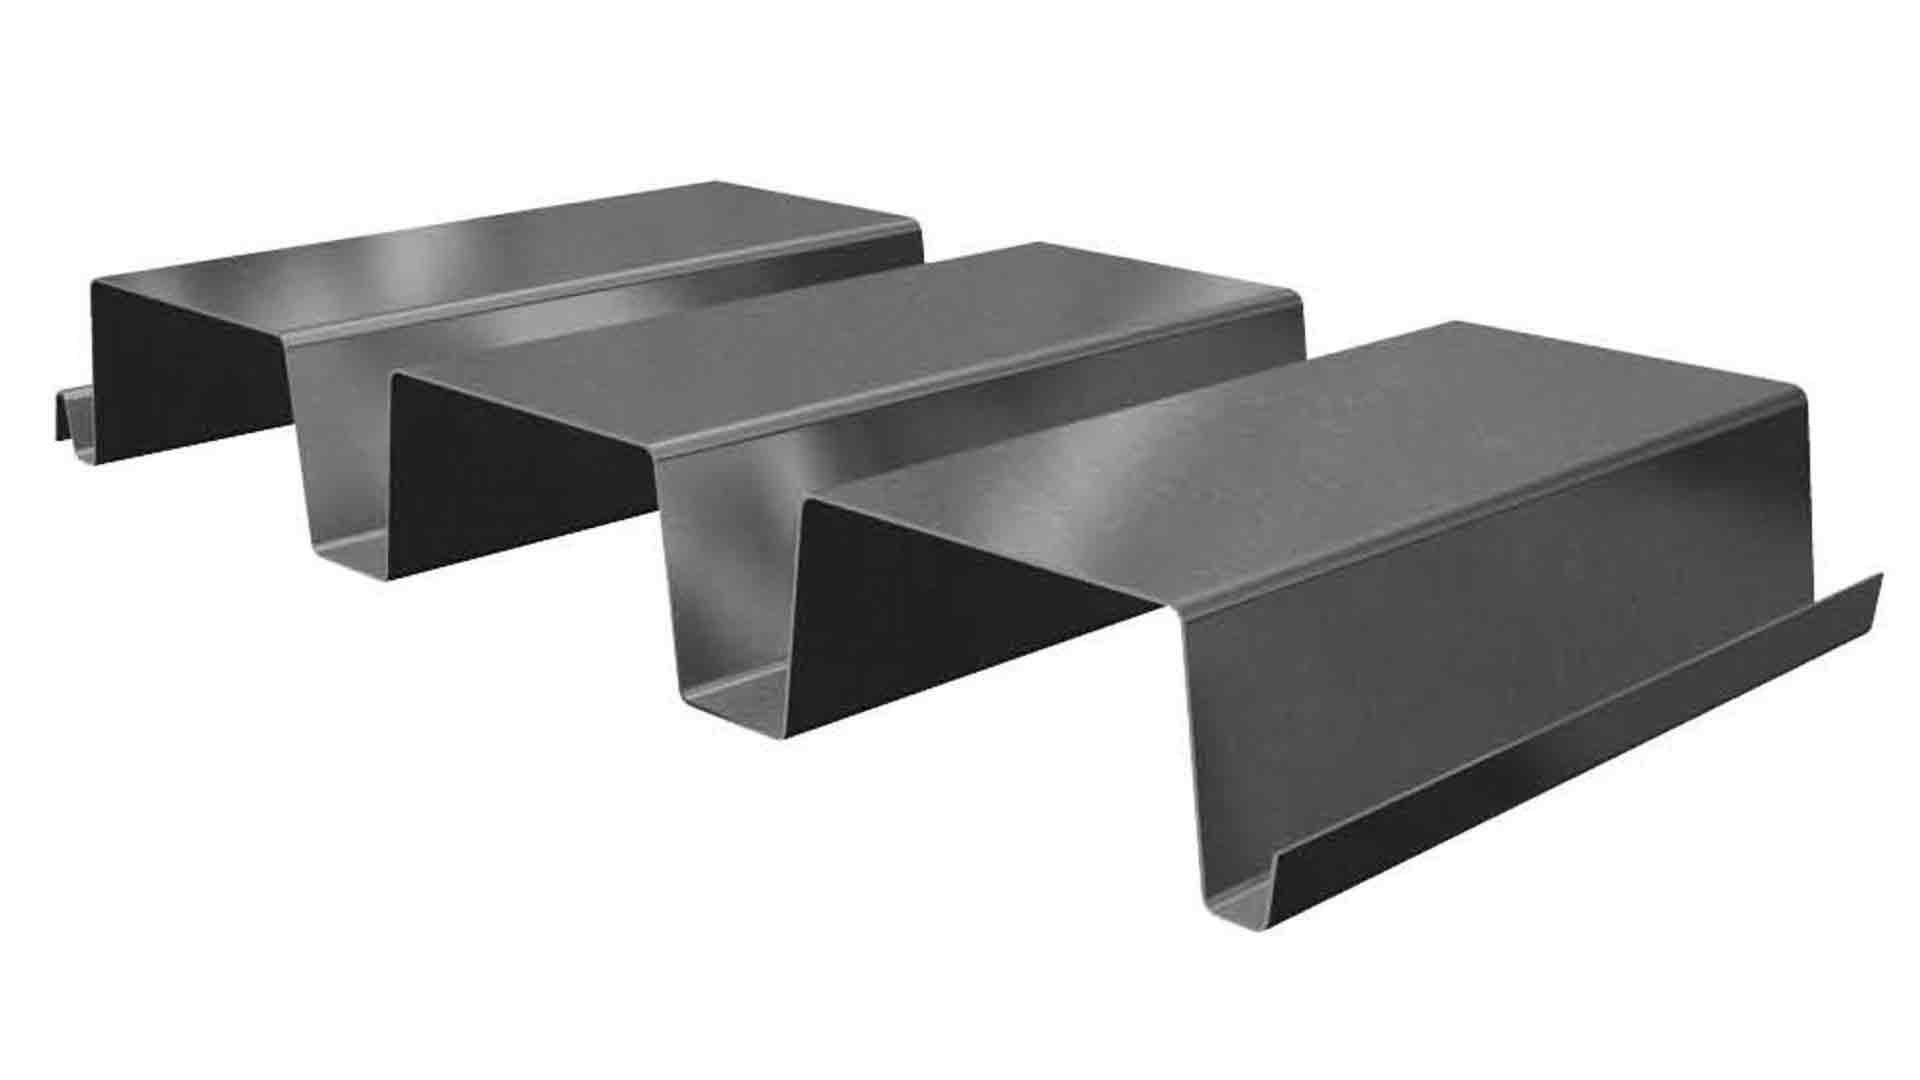
Most types of metal roof decking have a male leg on one side and a female on the other side.
It is very important that when shakeout begins the first sheet is installed with the male leg facing closest to the center of the building. Every sheet after the first sheet will then be oriented the same way and the female side of each sheet will easily drop over the male side.
Immediately upon each sheet being placed in it’s position, it is critical to attach the metal decking to the steel framing in a few different spots. This is normally done with a Hilti powder actuated fastening tool. It is done to temporarily hold the sheet in place. This is to prevent movement of the sheet due to workers walking on it, wind, earthquake or expansion and contraction.
If a sheet is not fastened down and the end of the sheet moved off the supporting beam, a worker could fall through the roof resulting in injury or death.
Permanently Fastening Metal Roof Deck Sheets to Steel Frame
As the shakeout continues, other workers can follow behind permanently fastening down the metal decking sheets at all connection points.
The method of permanent attachment should be shown on the structural design drawings. They will also show the attachment patterns across the width of each sheet at each supporting beam location.
The most common methods of attachments to steel framing are:
- Plug Welding - This consists of a round ¾” diameter plug weld. You weld through the decking into the steel below and make a plug, referred to as a plug weld.
- Shots and Pins - This is a steel pin that is shot with a gun. When you pull the trigger a piston forces a steel pin into the steel beam. The most common manufacturers of the shots, pins and guns are Hilti and Ramset.
- Screws - Normally, a self drilling screw is drilled into the steel beam. The size and diameter of the screw is picked out by the structural engineer.
Attaching The Side Laps of Metal Roof Deck
The shakeout process is complete when the sheets are spread and permanently fastened to the steel frame. The next step is to permanently fasten the side laps of each sheet together. The method of side lap attachment should be shown on the structural design drawings.
There are four basic types of side lap connection for metal roof decking
- Button Punch
- VSC2 (PunchLok II)
- Stitch Screw Side Lap
- Top Seam Welding
Button Punch
This is by far the most traditional and fastest method of fastening the metal decking side laps together. The only tool a worker needs to complete this task is a button punch tool. A button punch tool is designed to be used to attach the two sheets together.
The structural design drawings should show how far apart to do the button punching. All you need to do is move the jaws of the tool the distance shown between button punches and then spread the arms of the tool.
VSC2 (PunchLok 2)
The second most popular sidelap connection for roof decking is the VSC2 (Verco/Vulcraft Sidelap Connection). This type of connection is achieved using the PunchLok II system. It requires a PunchLok II tool, an air compressor, and an air hose of 100 feet to operate the tool. It can only be used on Verco/Vulcraft decking.
Upon pressing the activation lever on the PunchLok II tool the jaws automatically connect the sidelap creating a VSC2. This is the strongest sidelap connection and creates the maximum amount of diaphragm shear.
How To Operate the Punchlok II Tool: What Equipment Will I Need?
Stitch Screw Side Lap
This type of sidelap connection is similar in strength to button punching. It requires a different side lap than the standard interlocking side lap. You will have to have purchased the metal roof deck with the stitch screw side lap. The side laps interlock and are connected with screws using a screw gun. On larger jobs, the cost of the fastener screws can begin to add up quickly. Be sure to put money in your budget for this item.
Top Seam Welding
This is probably the most expensive and slowest of all side lap connection options. Before top seam welding can even begin the metal decking must be crimped tightly together approximately 2” in length. Crimping MUST be done for every stitch weld on the job. Then a light gauge certified welder will be required to do the welding.
Expenses that are incurred include:
- Welding Machine - It is very common to rent welding machines. If this is the case you will spend more money on equipment rental for the job.
- Fuel to run the welder. The larger the job the more fuel you will need.
- Weld Rod to do the welding.
- Galvanized Paint to repair burned surfaces of the metal decking after the stitch welding is done.
- Labor to do the touch up galvanizing painting.
Due to all of the extra work and expenses we rarely see this side lap designated anymore.
Side Lap Connections & Tools
If you are responsible for the metal roof deck installation, then it’s your responsibility to make sure you purchase the correct metal roof deck type and correct side lap type. When you go to attach the side laps you don't want to be surprised to find out that you purchased the wrong type.
For instance, if you purchased Type B-36 with a standard interlocking side lap and need to stitch screw the side laps, you will learn that it simply won’t work. The side lap for stitch screw is different from a standard interlocking side lap.
If you find that you need a side lap connection tool such as the Button Punch tool we can loan you a tool so long as you purchased the metal deck from us. Or if you need to rent or purchase a button punch tool we offer that as an option as well. If your job calls for a PunchLok II tool, then you will need to contact your metal deck supplier to rent the tool from them. This tool can only be loaned out to you if you have purchased PunchLok II metal decking.